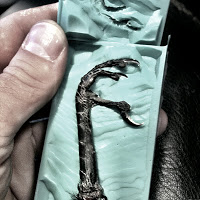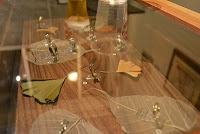

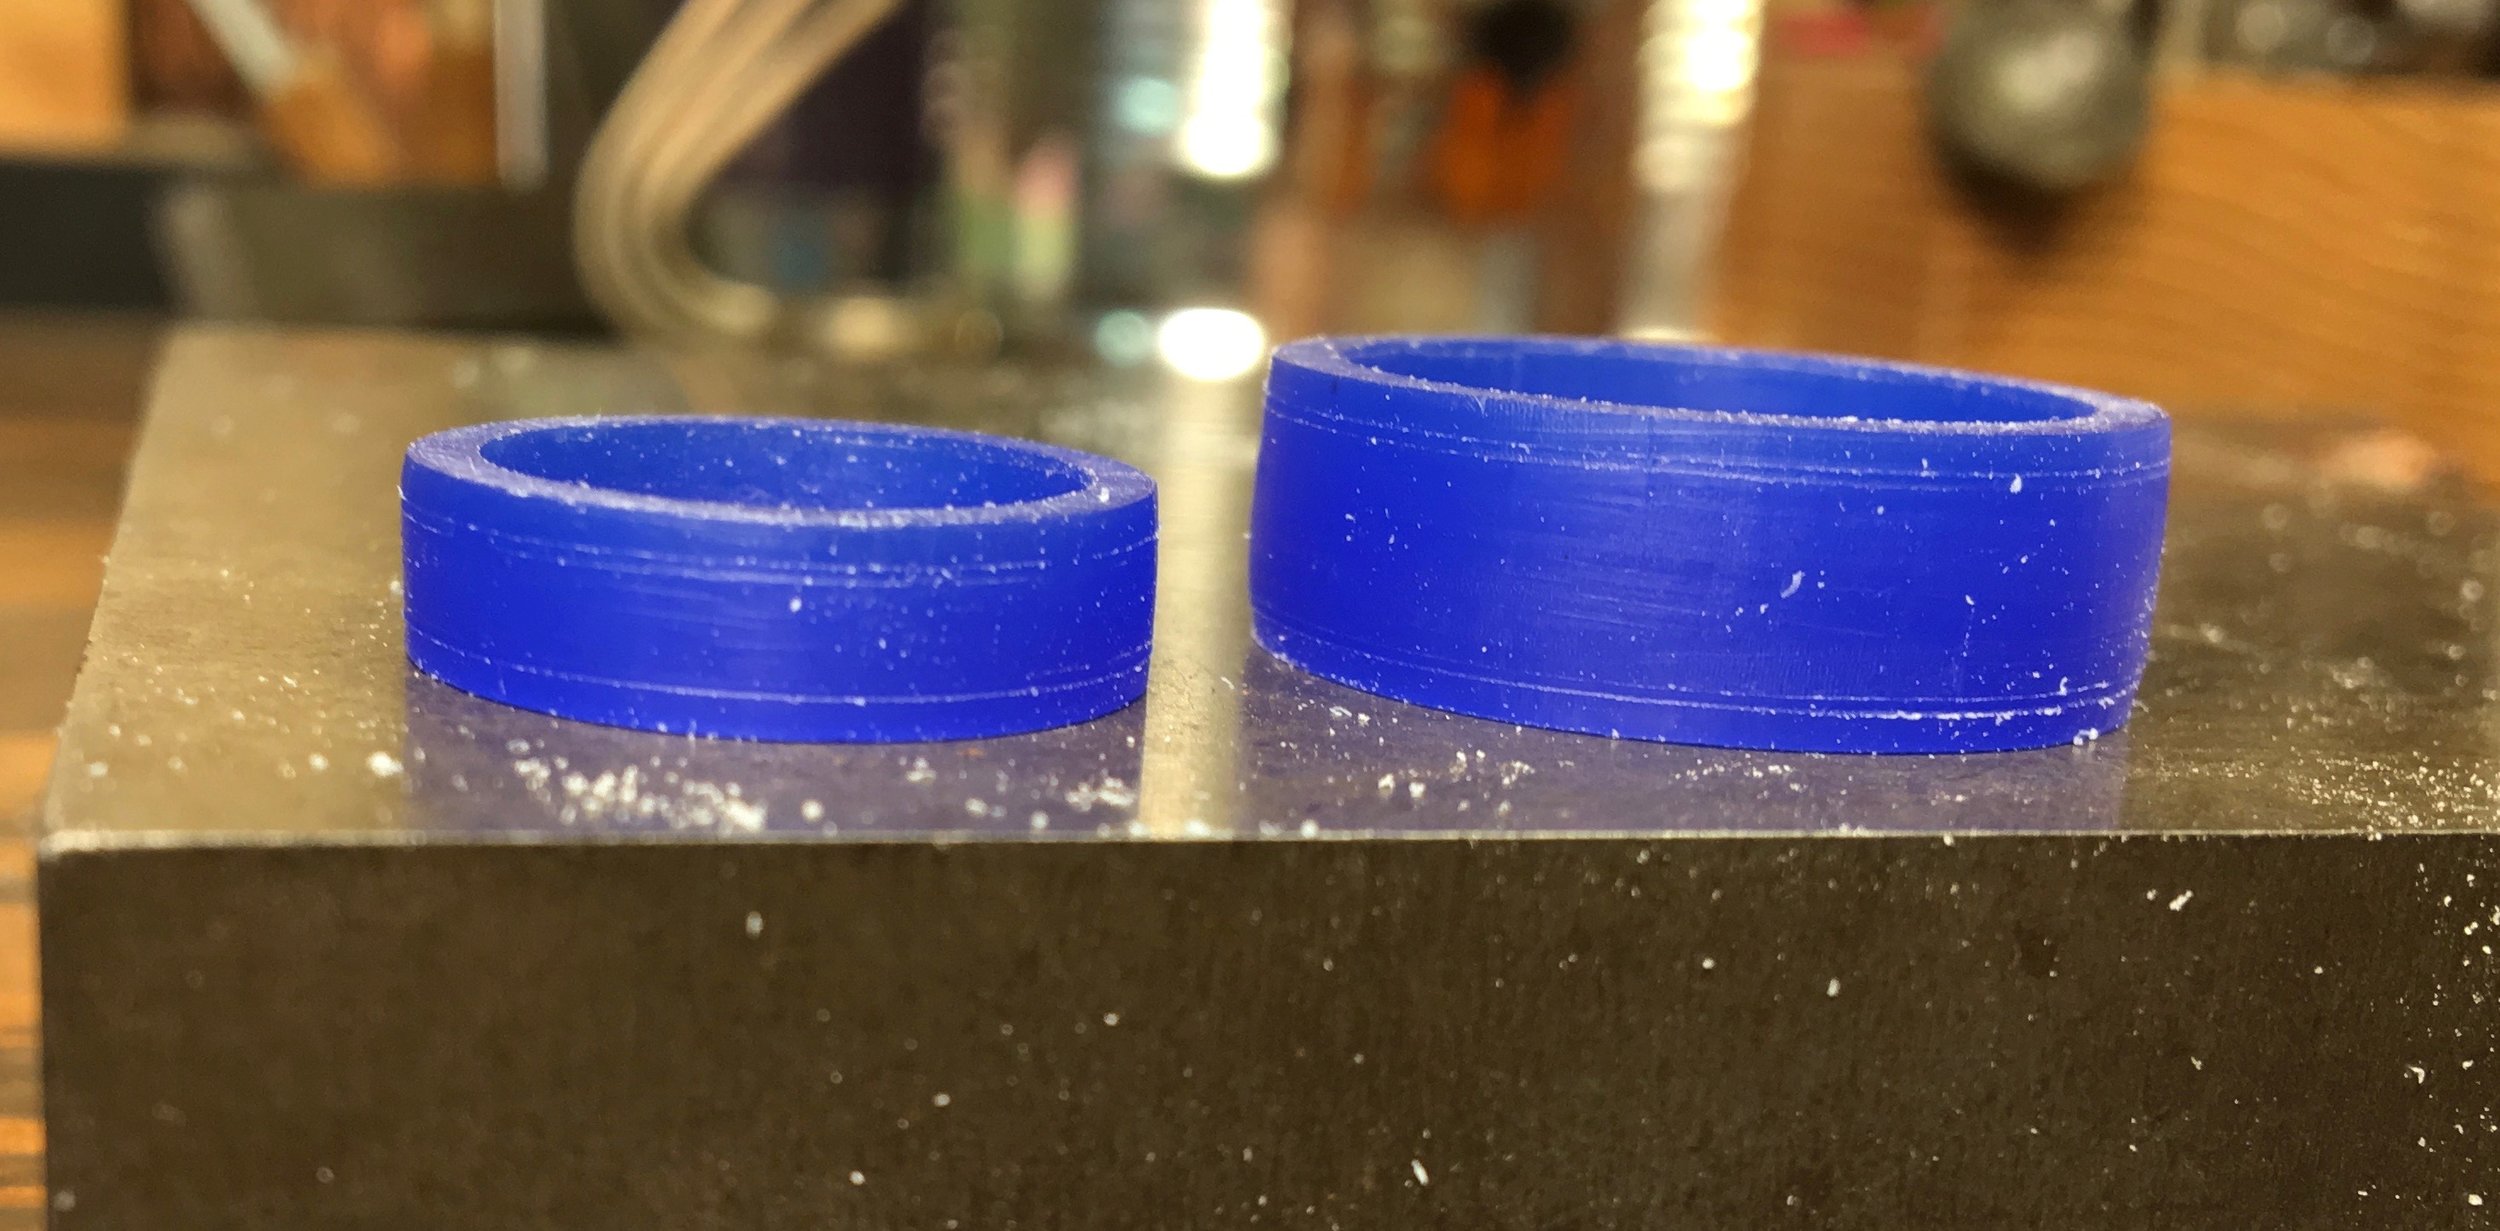
I start with a block of carving wax and cut and file it down to make the basic frames for my bands....
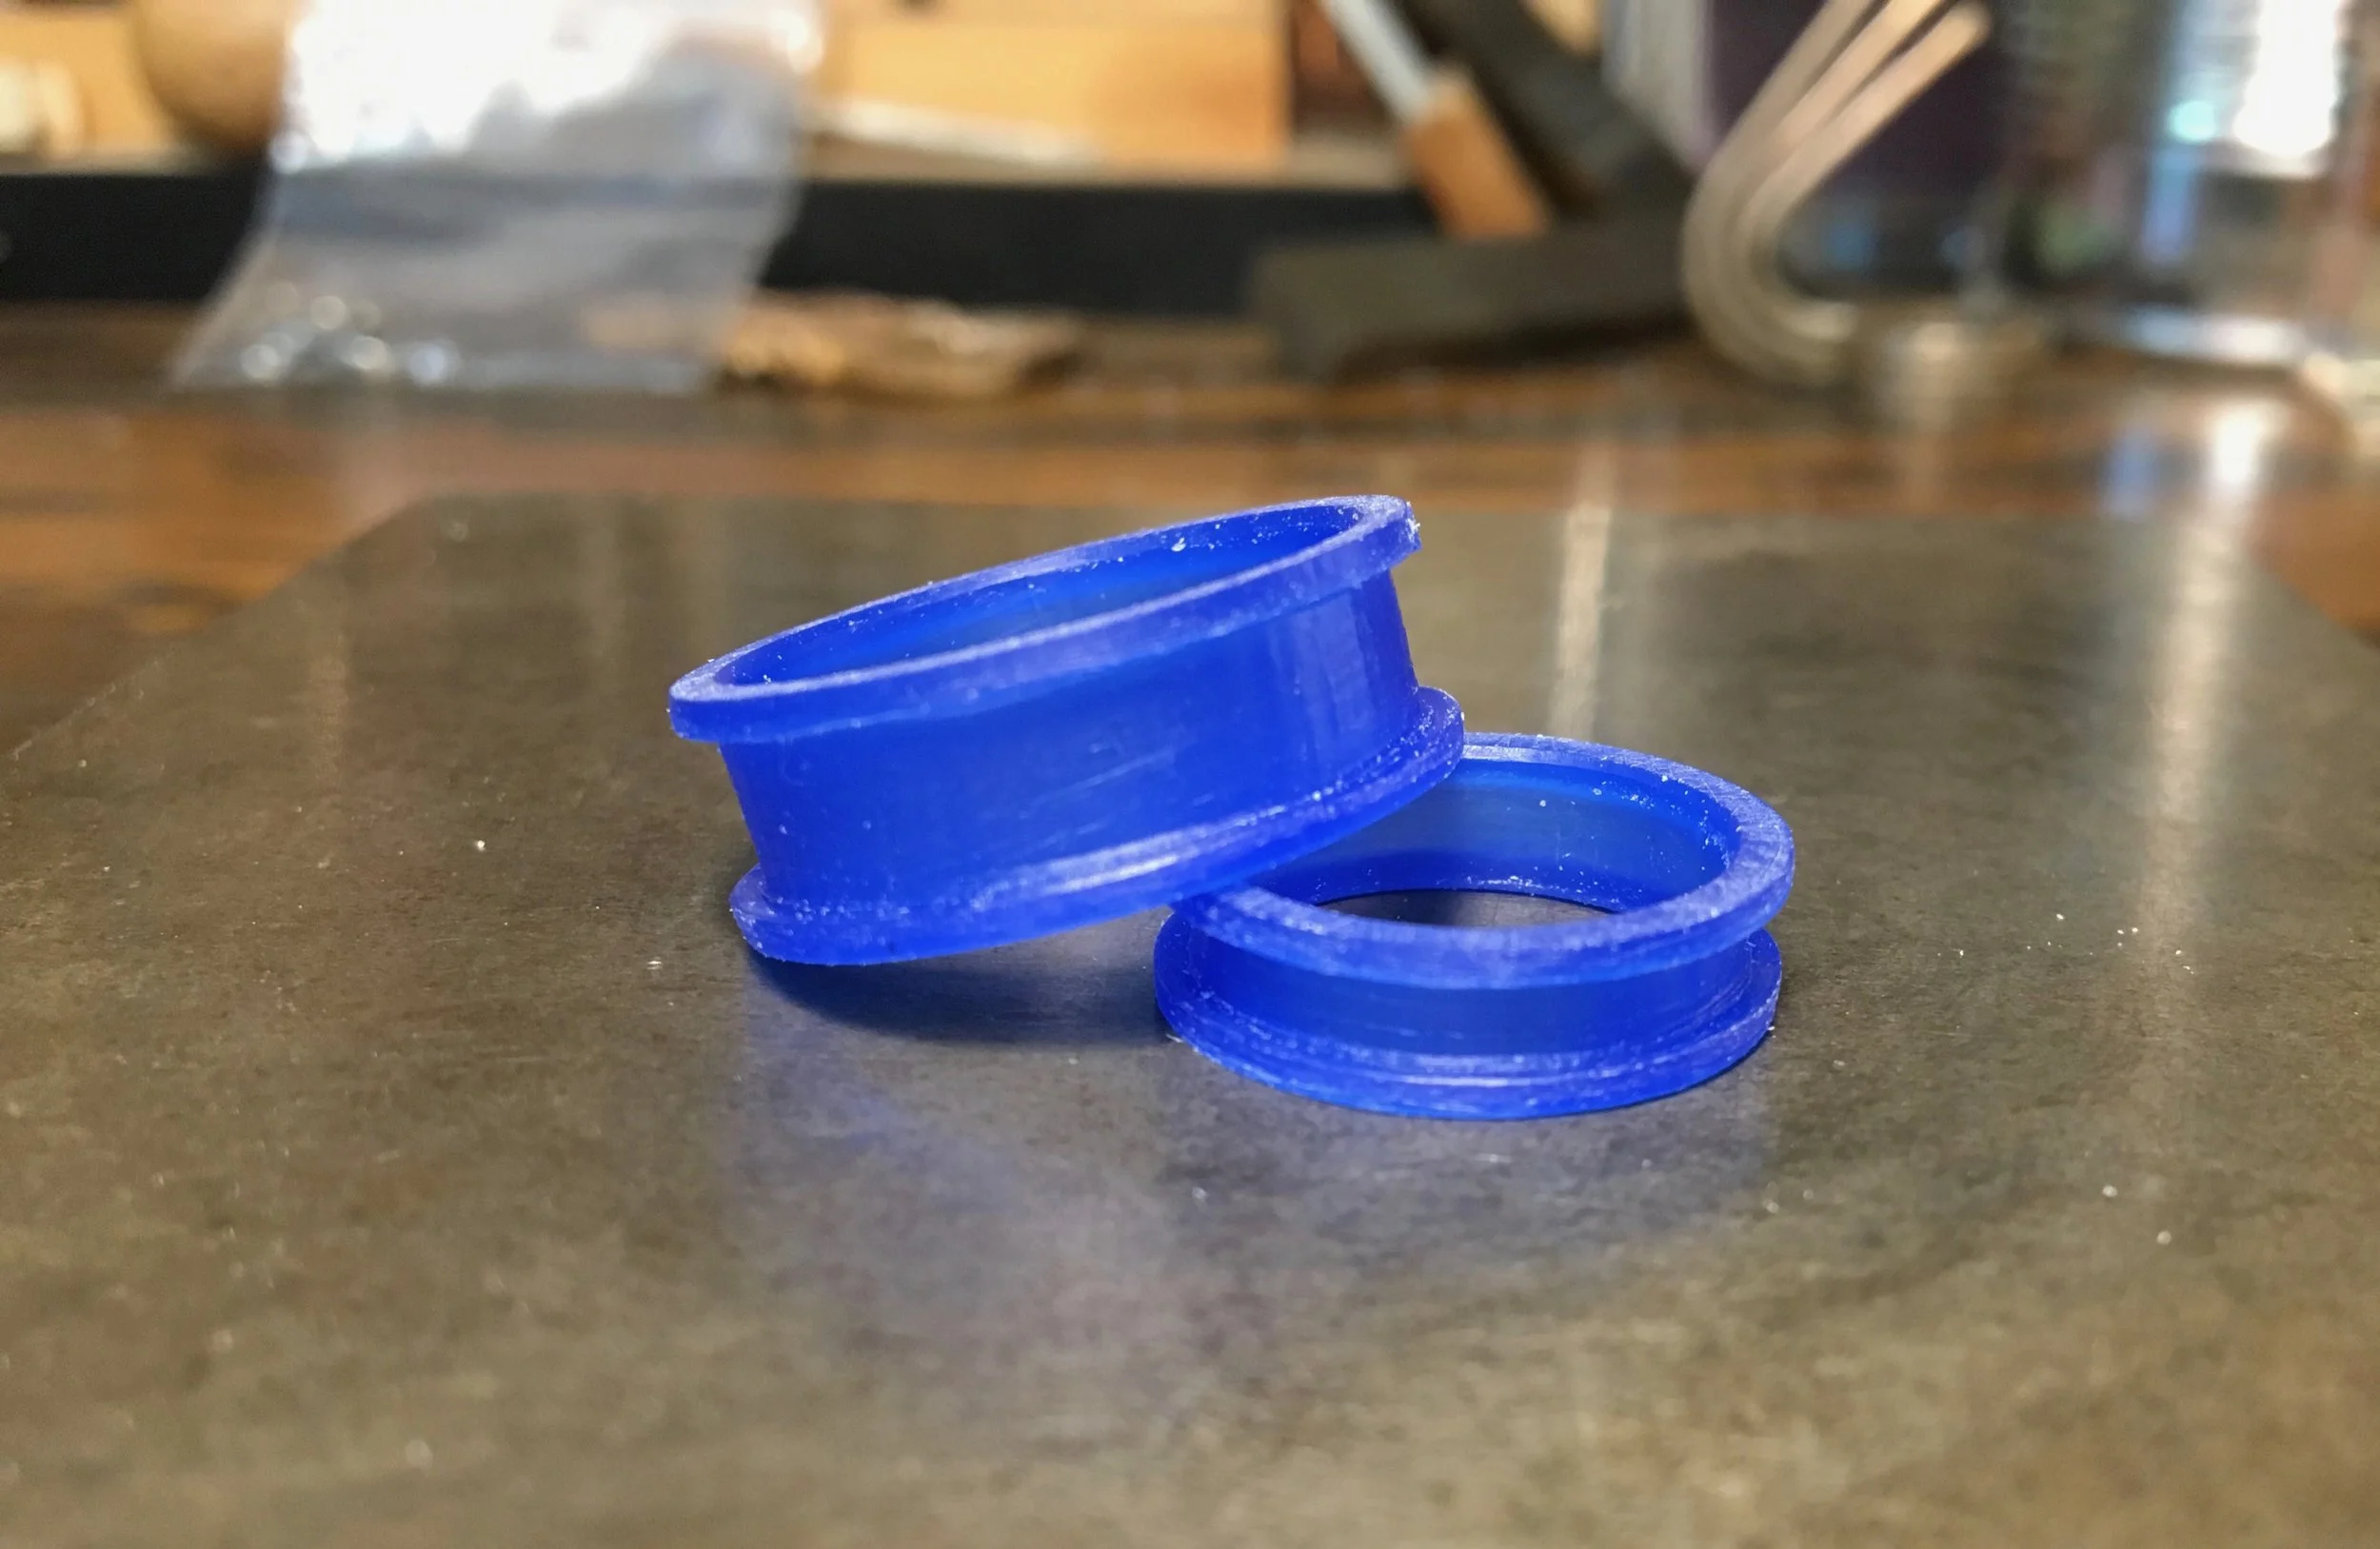
The finished waxes are ready to be cast into 14k white gold.
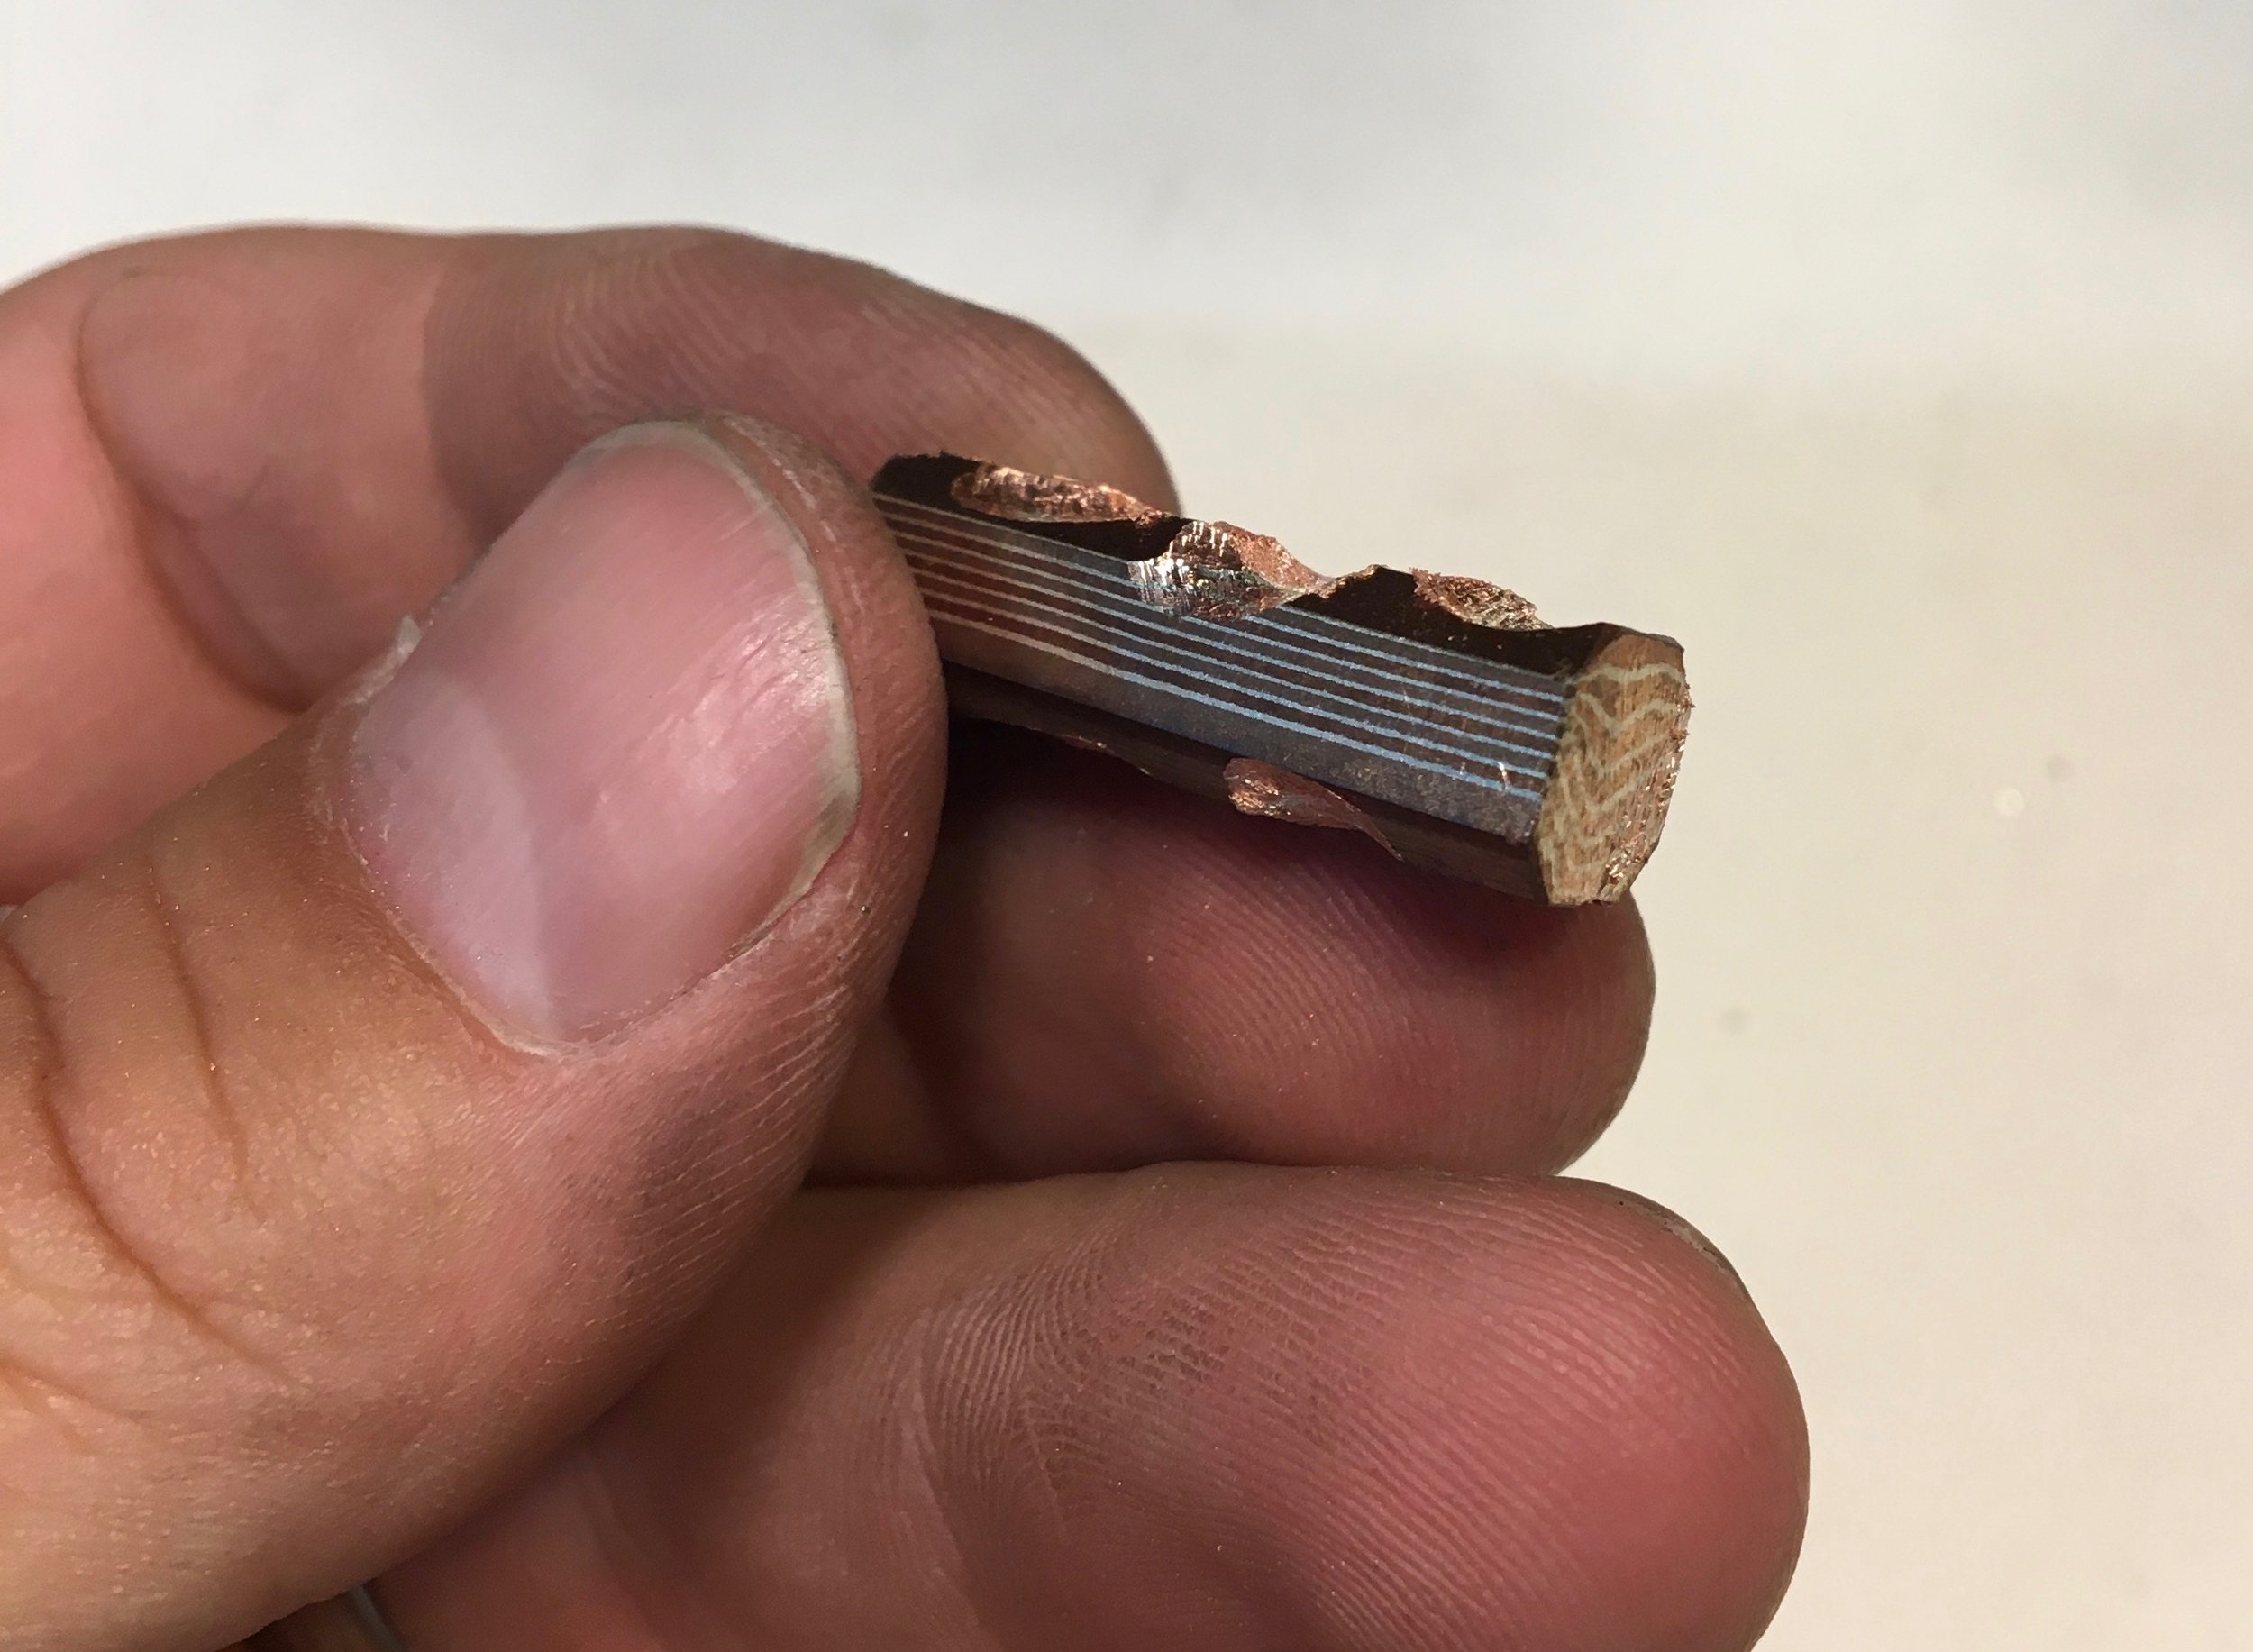
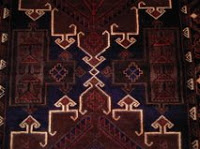
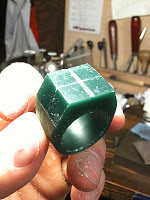
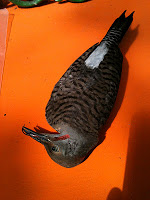
The mokume billet is roughly worked to expose patterns in the different layers of the stock material.

You can only work the metal so much before it cracks, by heating it to a dull red glow (annealing) between steps you avoid damaging the stock.

Here you can see the pattern starting to develop in the Mokume billet. The 14k white gold rings have been filed and are awaiting the mokume inlay...
This is where the patterning truely emerges.

The Mokume is bent round and into place....

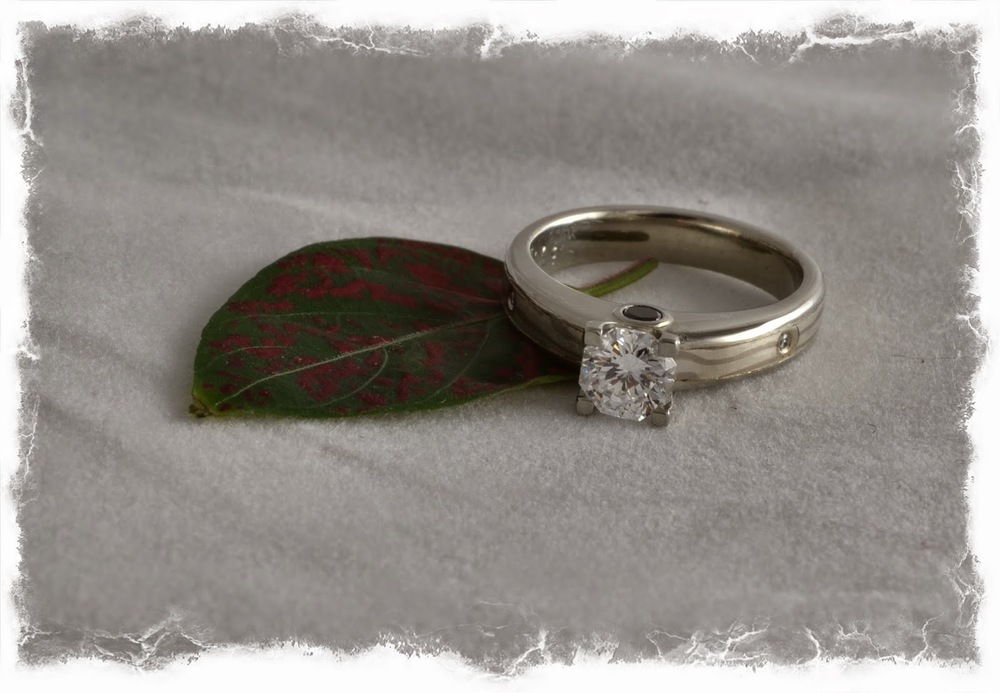
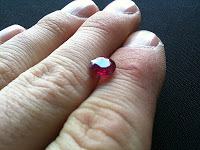
Then soldered in place.... Here the rings are shown with a 14k white gold bezel and diamond that is due to be put into Jayne's ring.
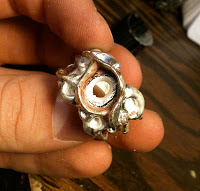
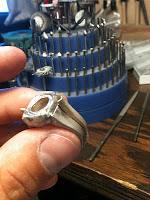
14k white gold tubing is being seated/ fitted in place, soon to become the bezels/ settings for the diamonds....

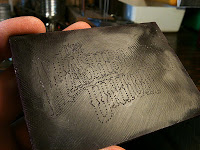
In this view the outside has been filed and sanded and is ready for polishing. You can see my DuKo stamp for hammering my name inside the rings....

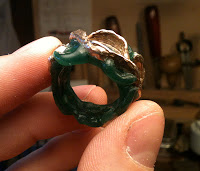
After polishing I added the chemical patina that gives these rings their distinctive look...
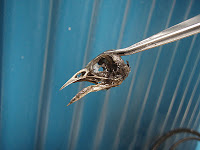
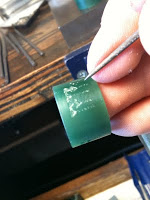
Then I scribe the border edges in place and go about removing the centre material.....

This process is done very carefully with a dremel type tool and old dental tools...

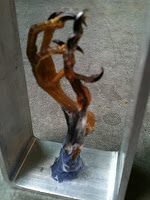
The gold castings, pictured here with the stock Mokume gane billet in the background, require extensive filing and sanding as they come out very rough....

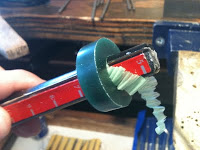
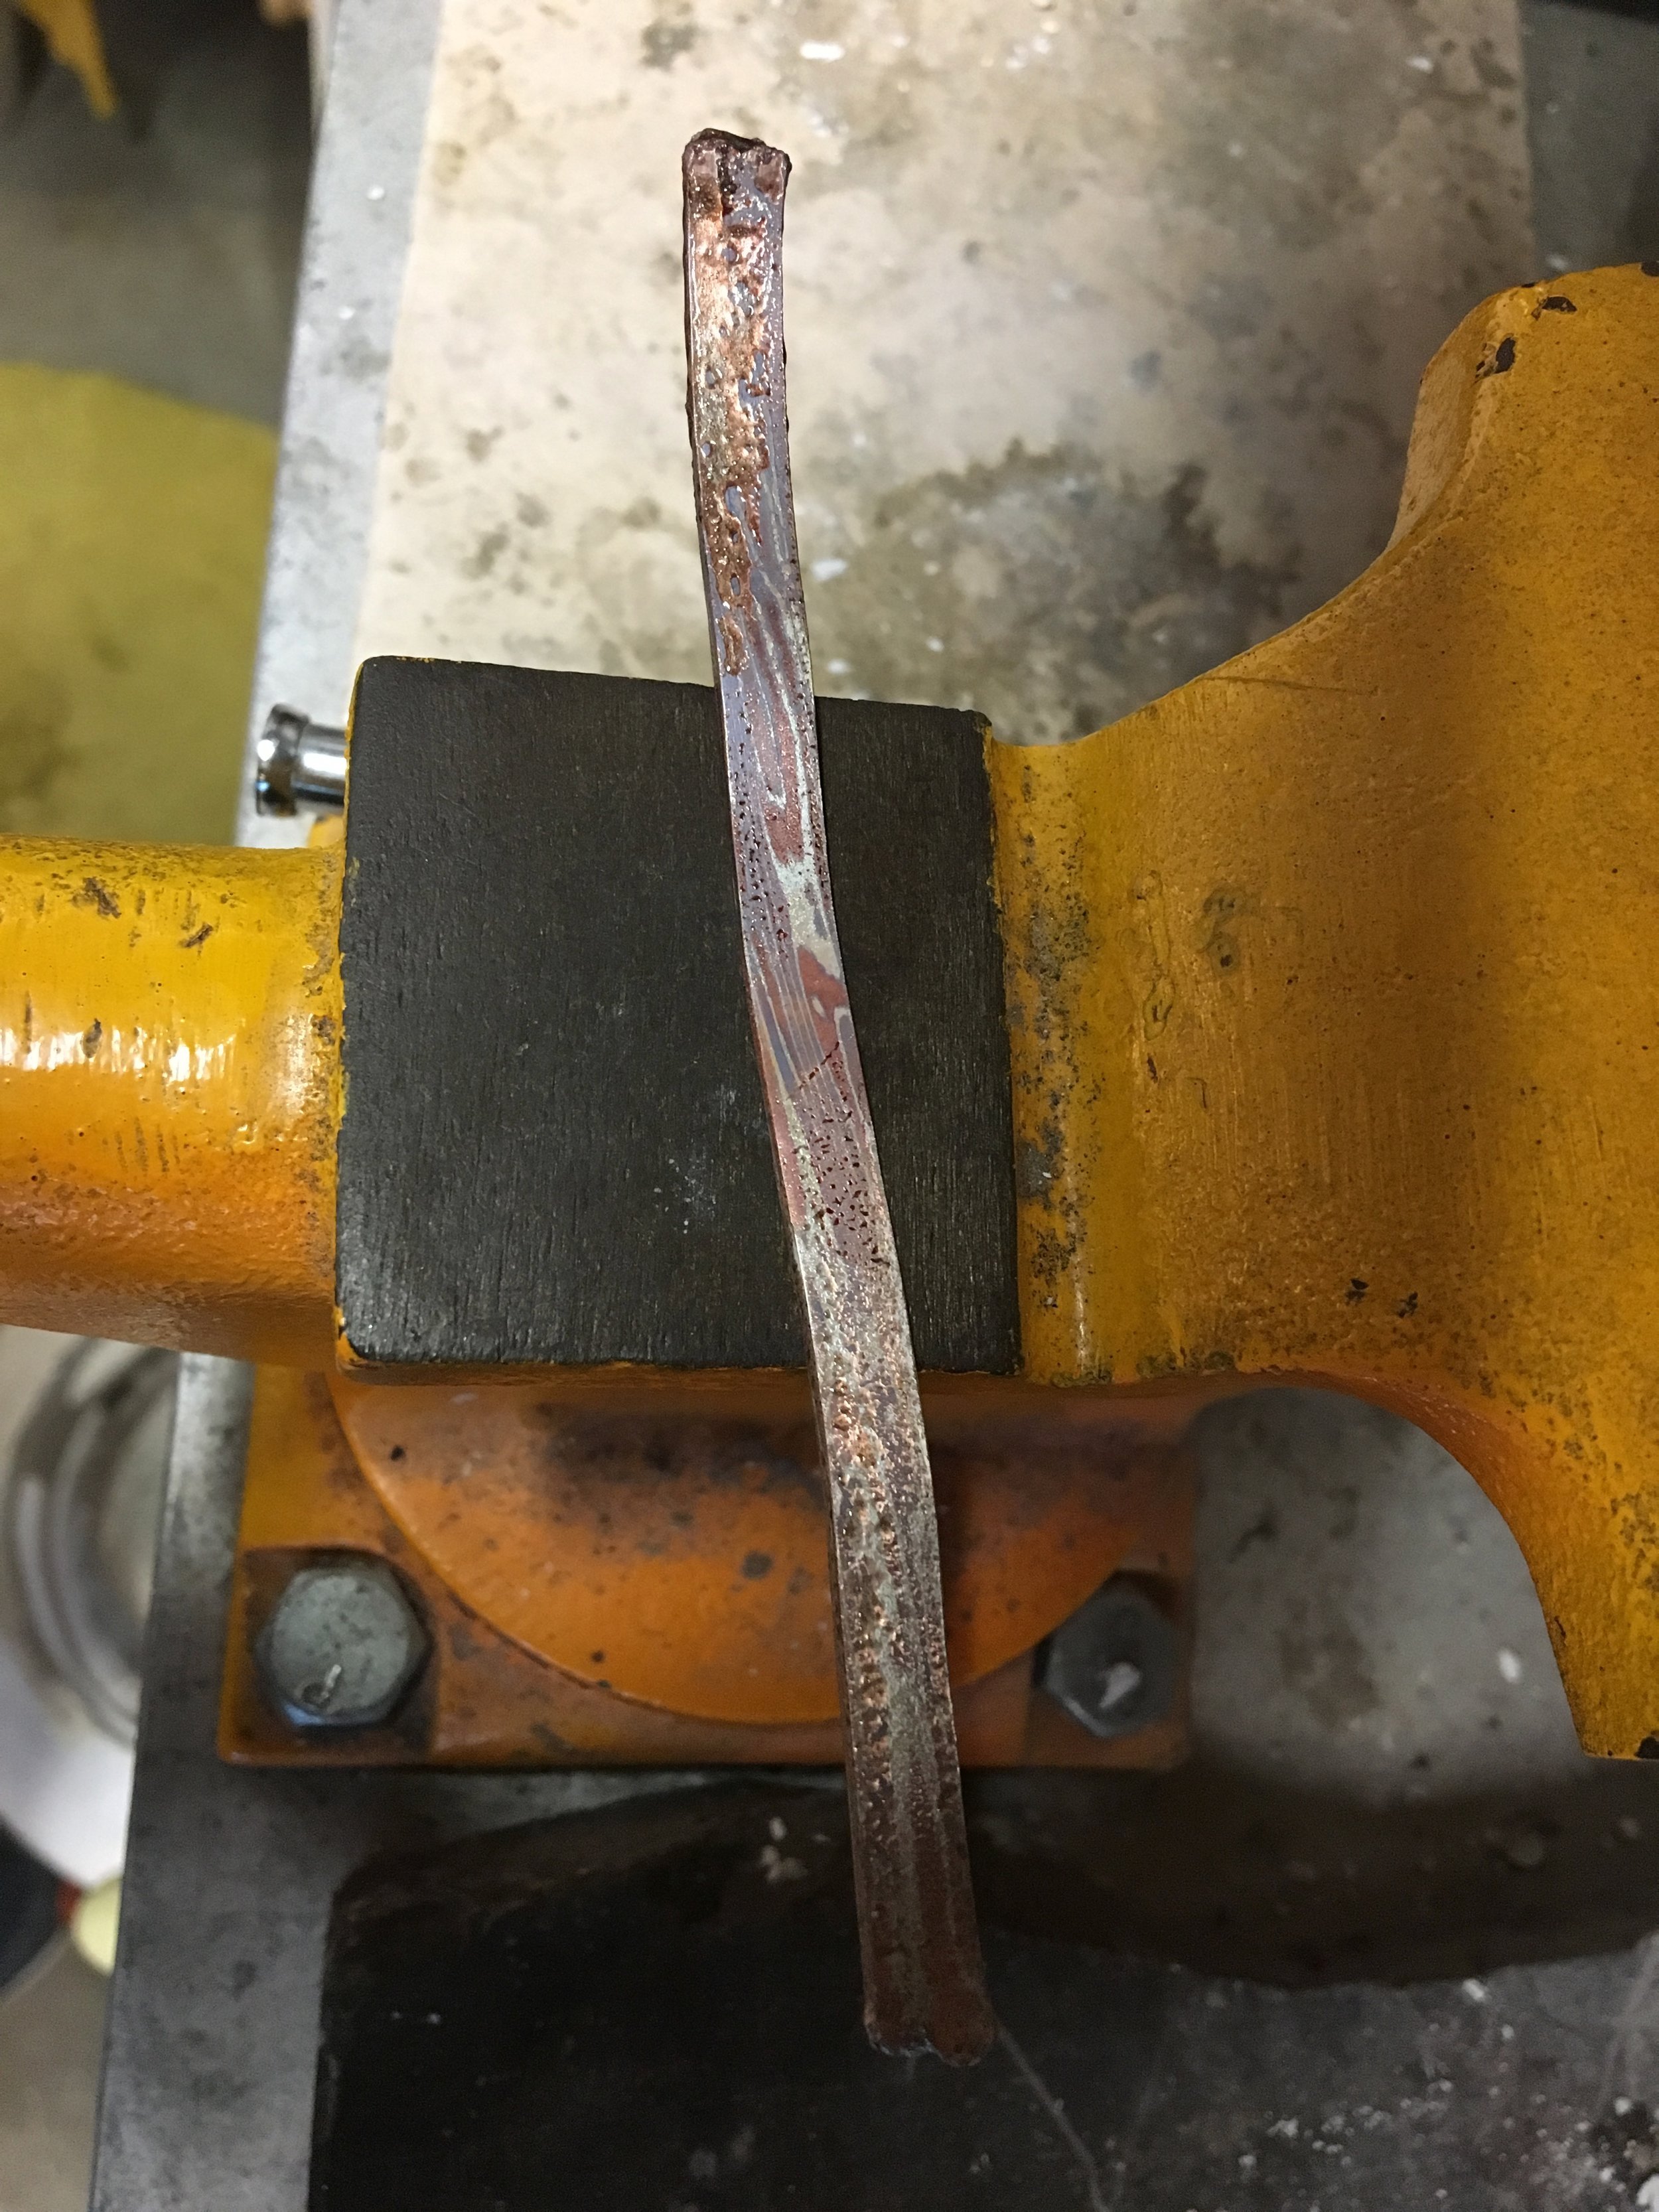
Here I'm twisting the stock so as to bring both the side profile lines and frontal patterns into play...

I continue to remove material as I work the metal, esensially following the pattern in a desired direction.

Still annealing between each step and beginning to roll the Mokume into the required lengths...

The rolled out and patterned Mokume gane is then cut to length and filed to width to custom fit each band...

Hammered tight....

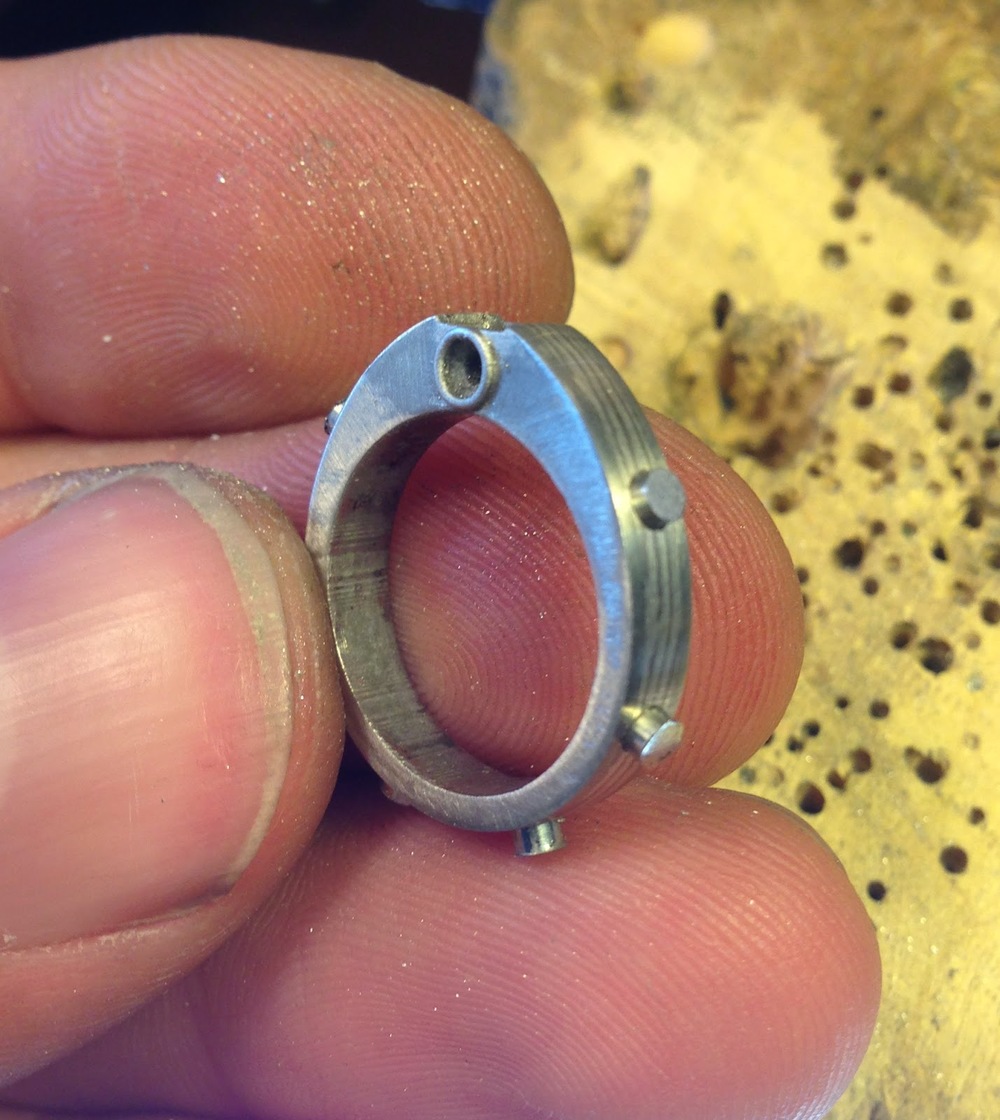
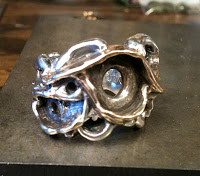
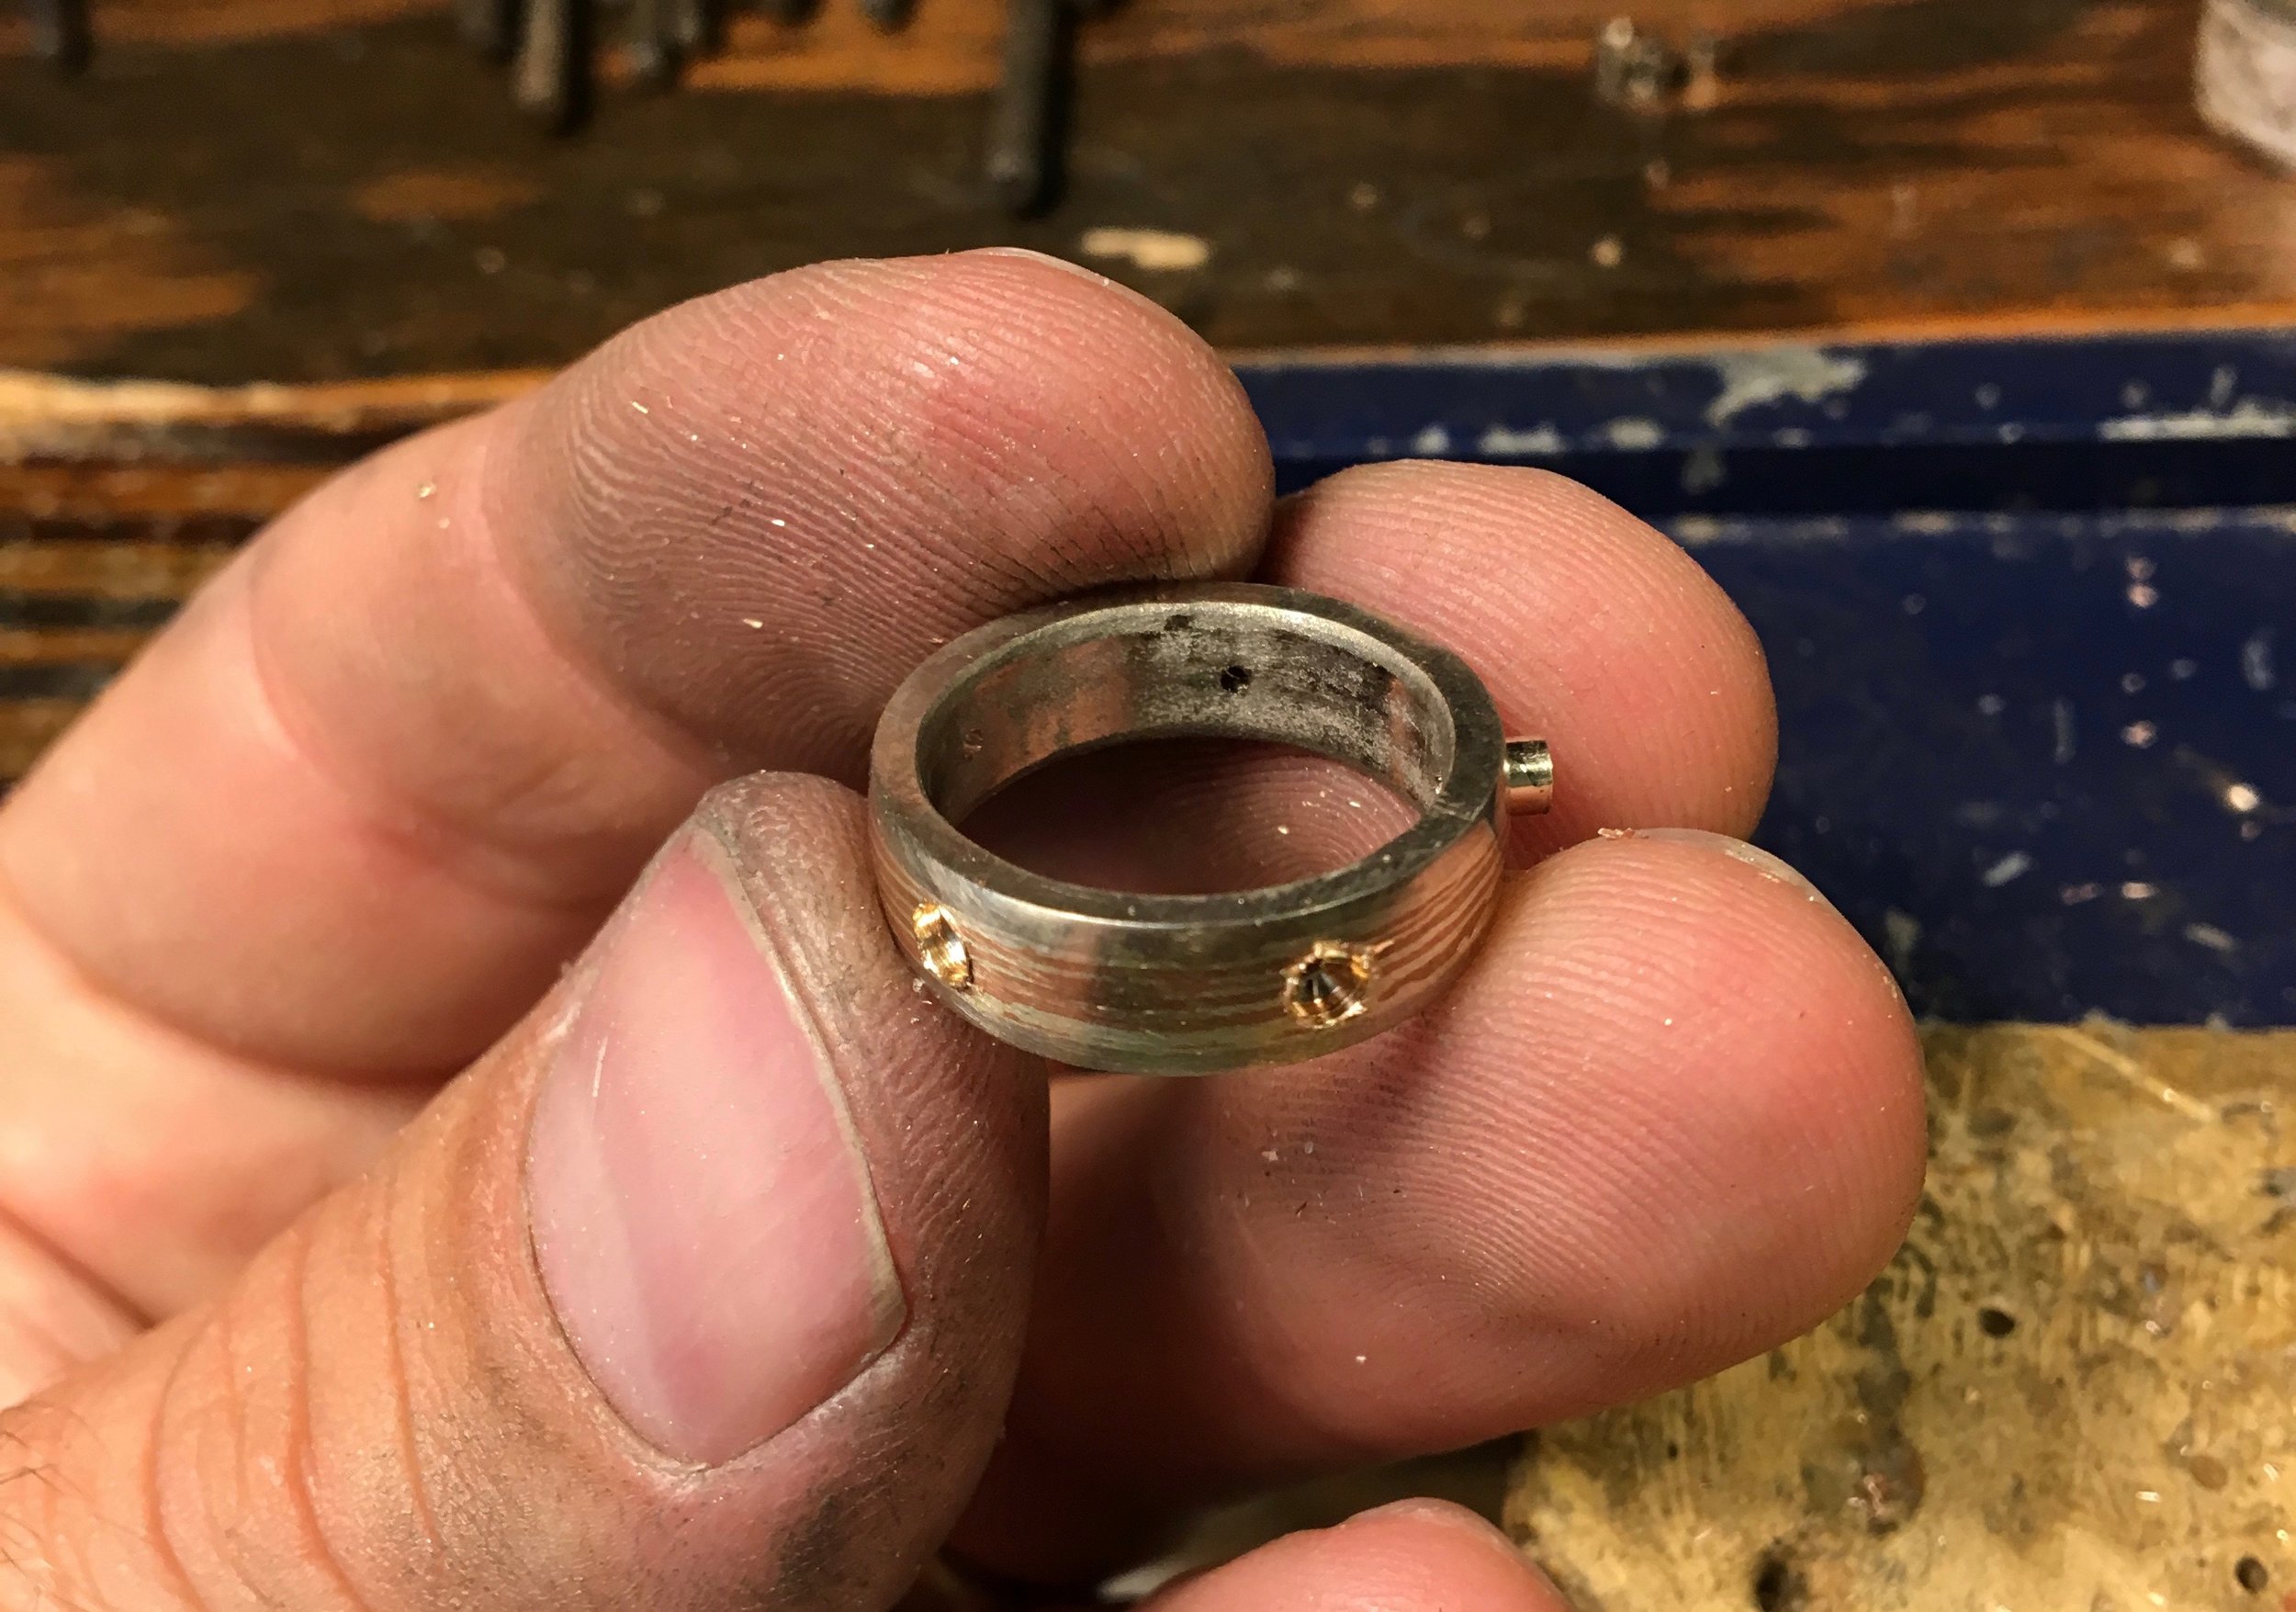
In this picture Jayne's ring has been filed and sanded and the placement of the stones has been marked. I'm now drilling the guide holes for the settings.

Both rings together after all soldering has been completed....

Now that all the hammering and shaping has been completed I can sand and finish the rings to thier final sizes...
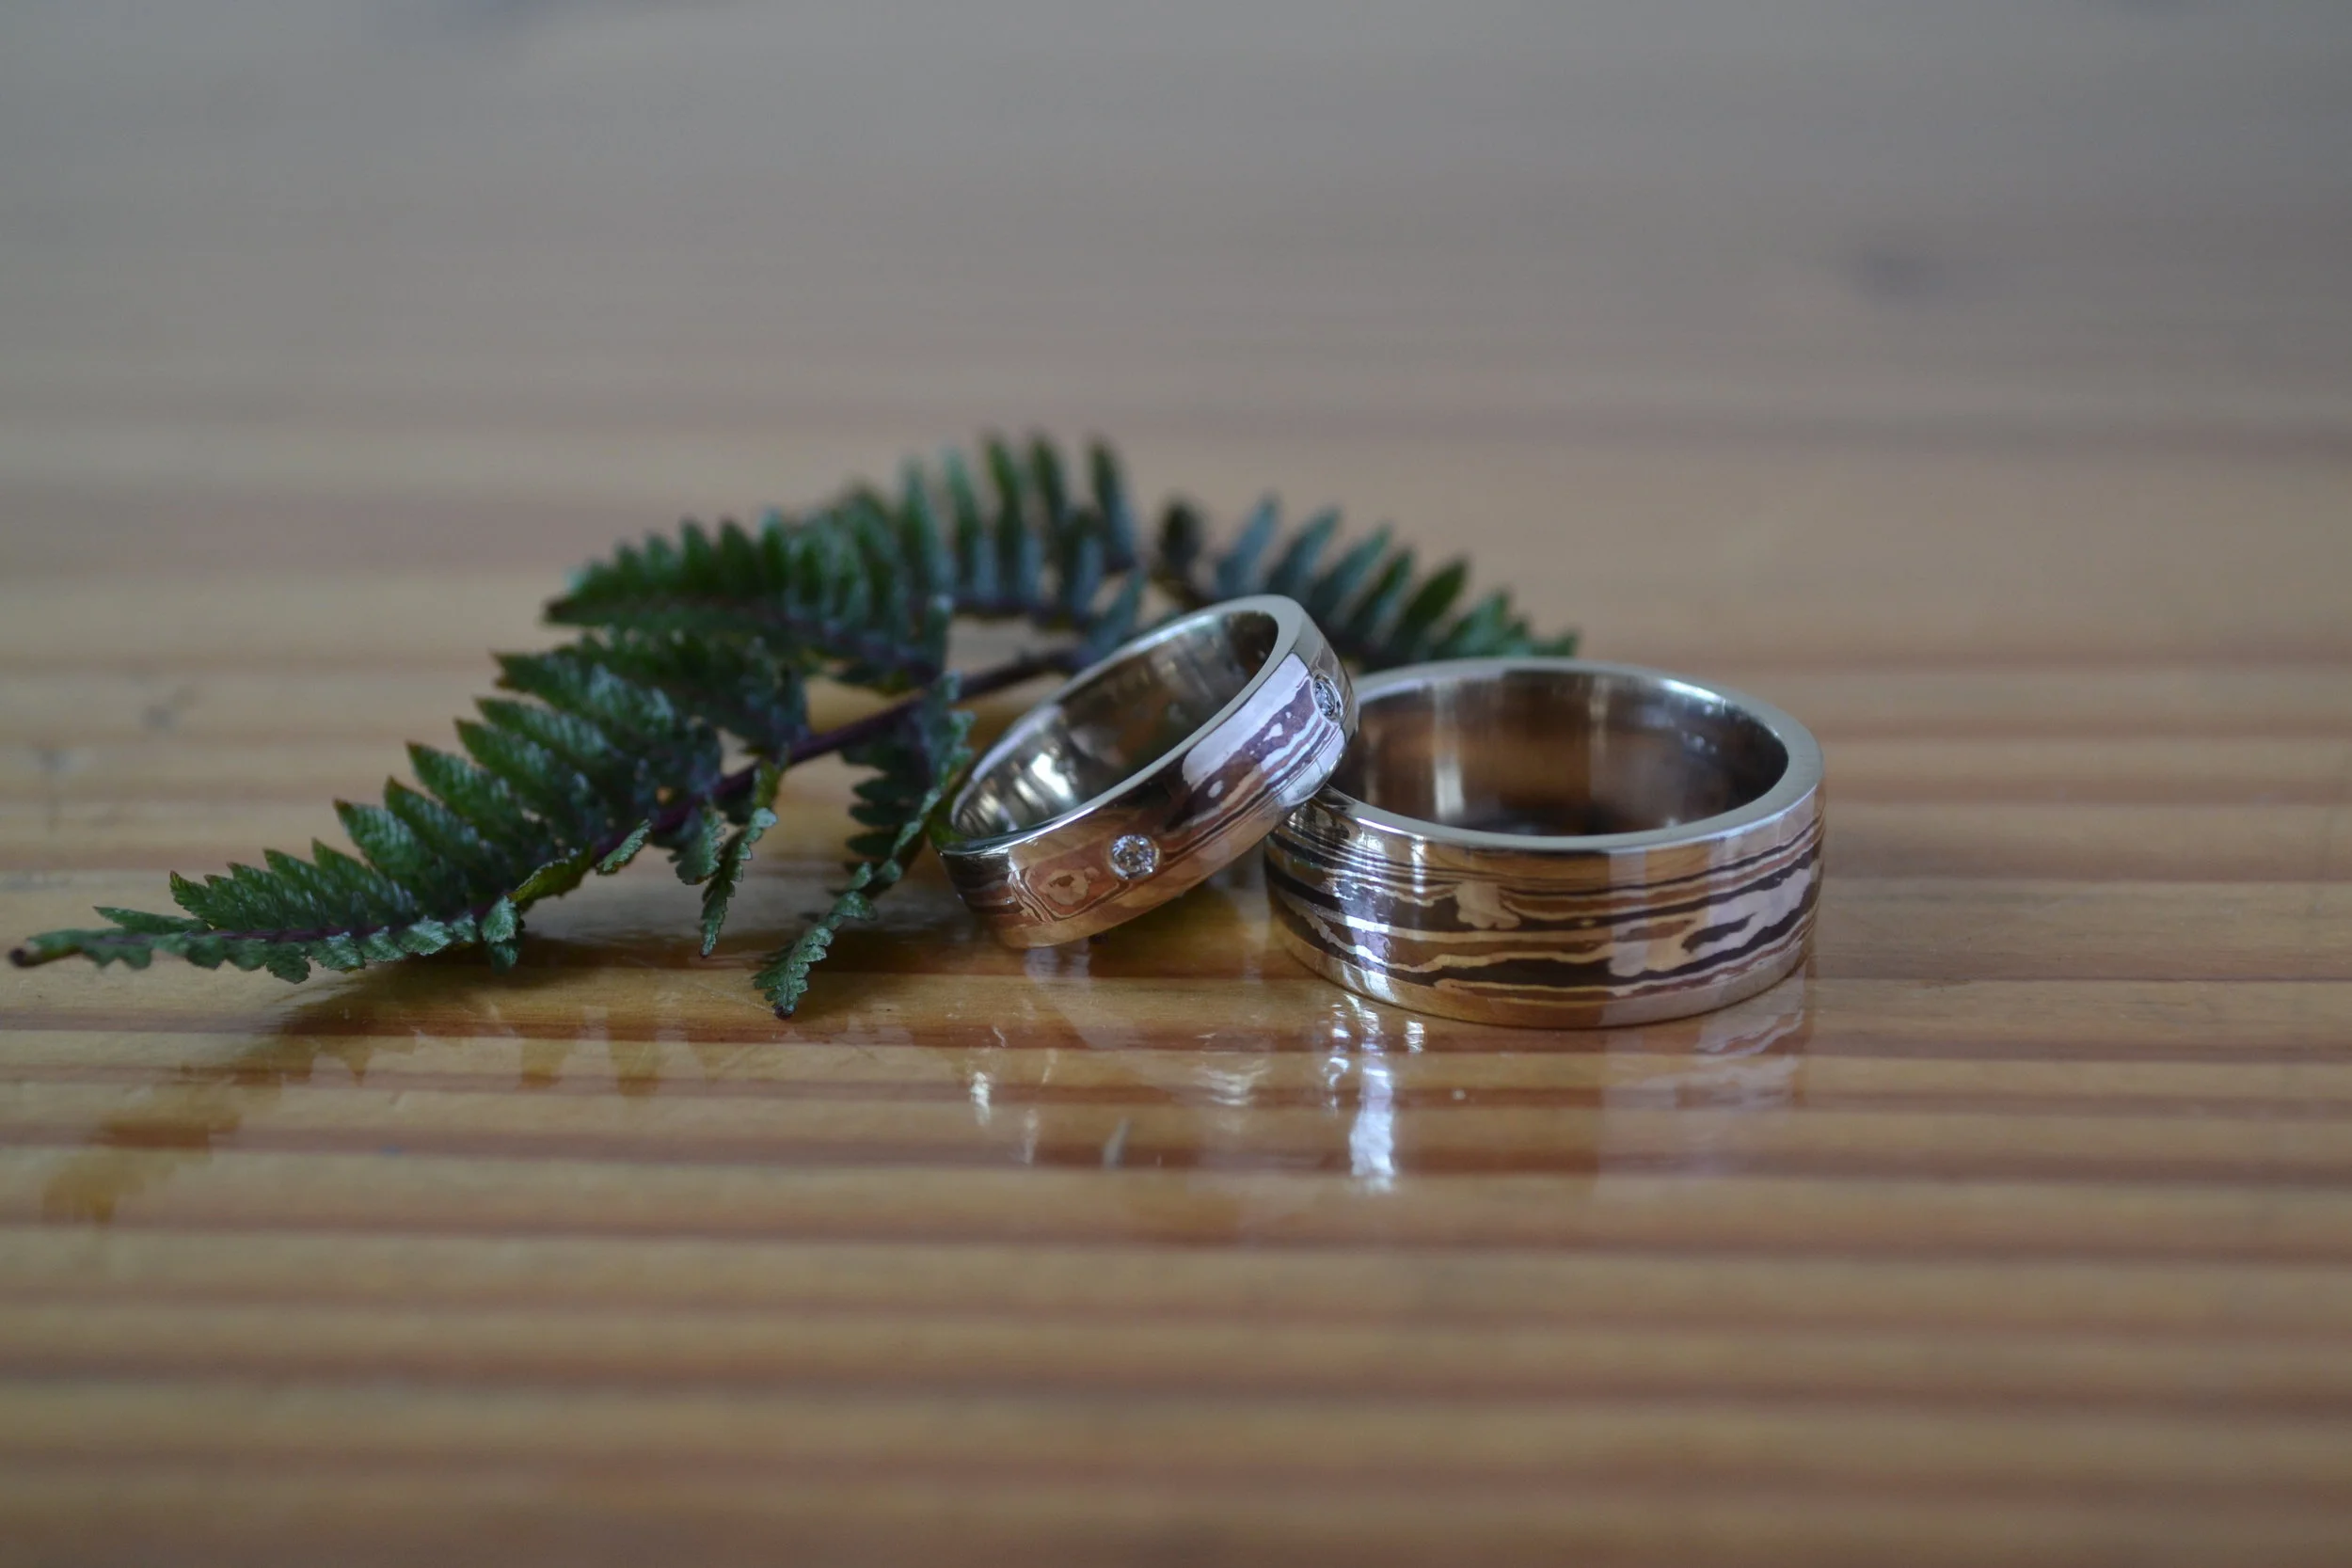
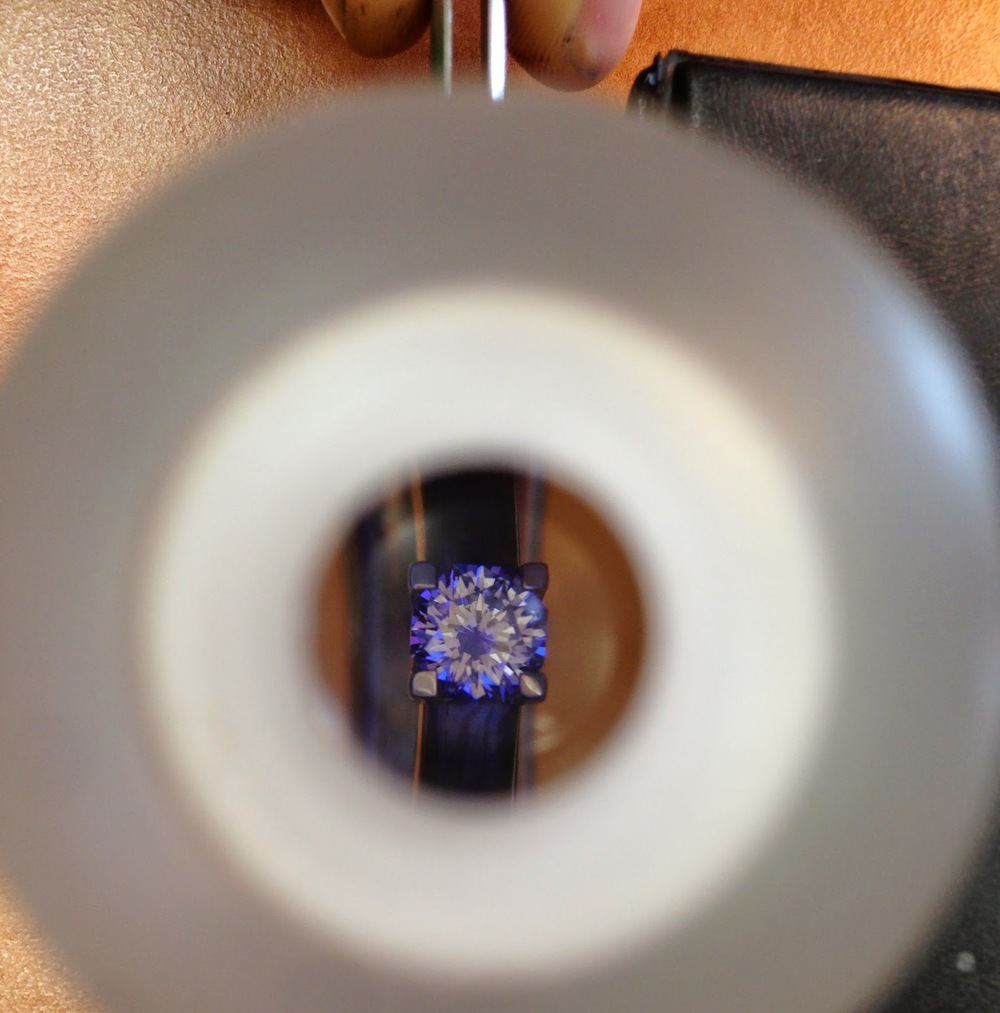
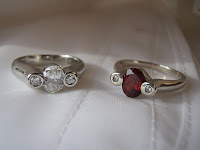
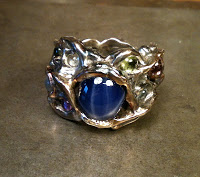
And finally... Diamonds!! Beautiful unique rings for a beautiful and unique couple!